Make your first connection
Overview
Rutter Link is a client-side component that allows your users to securely link their accounts to Rutter, granting you access to their data via the Rutter API. You can embed this UI component in your onboarding flow, or send it to your user as a dedicated link.
A Rutter Connection is created when your end user authenticates an account of theirs via Rutter Link. This in turns allow you to access their account data via the Rutter API.
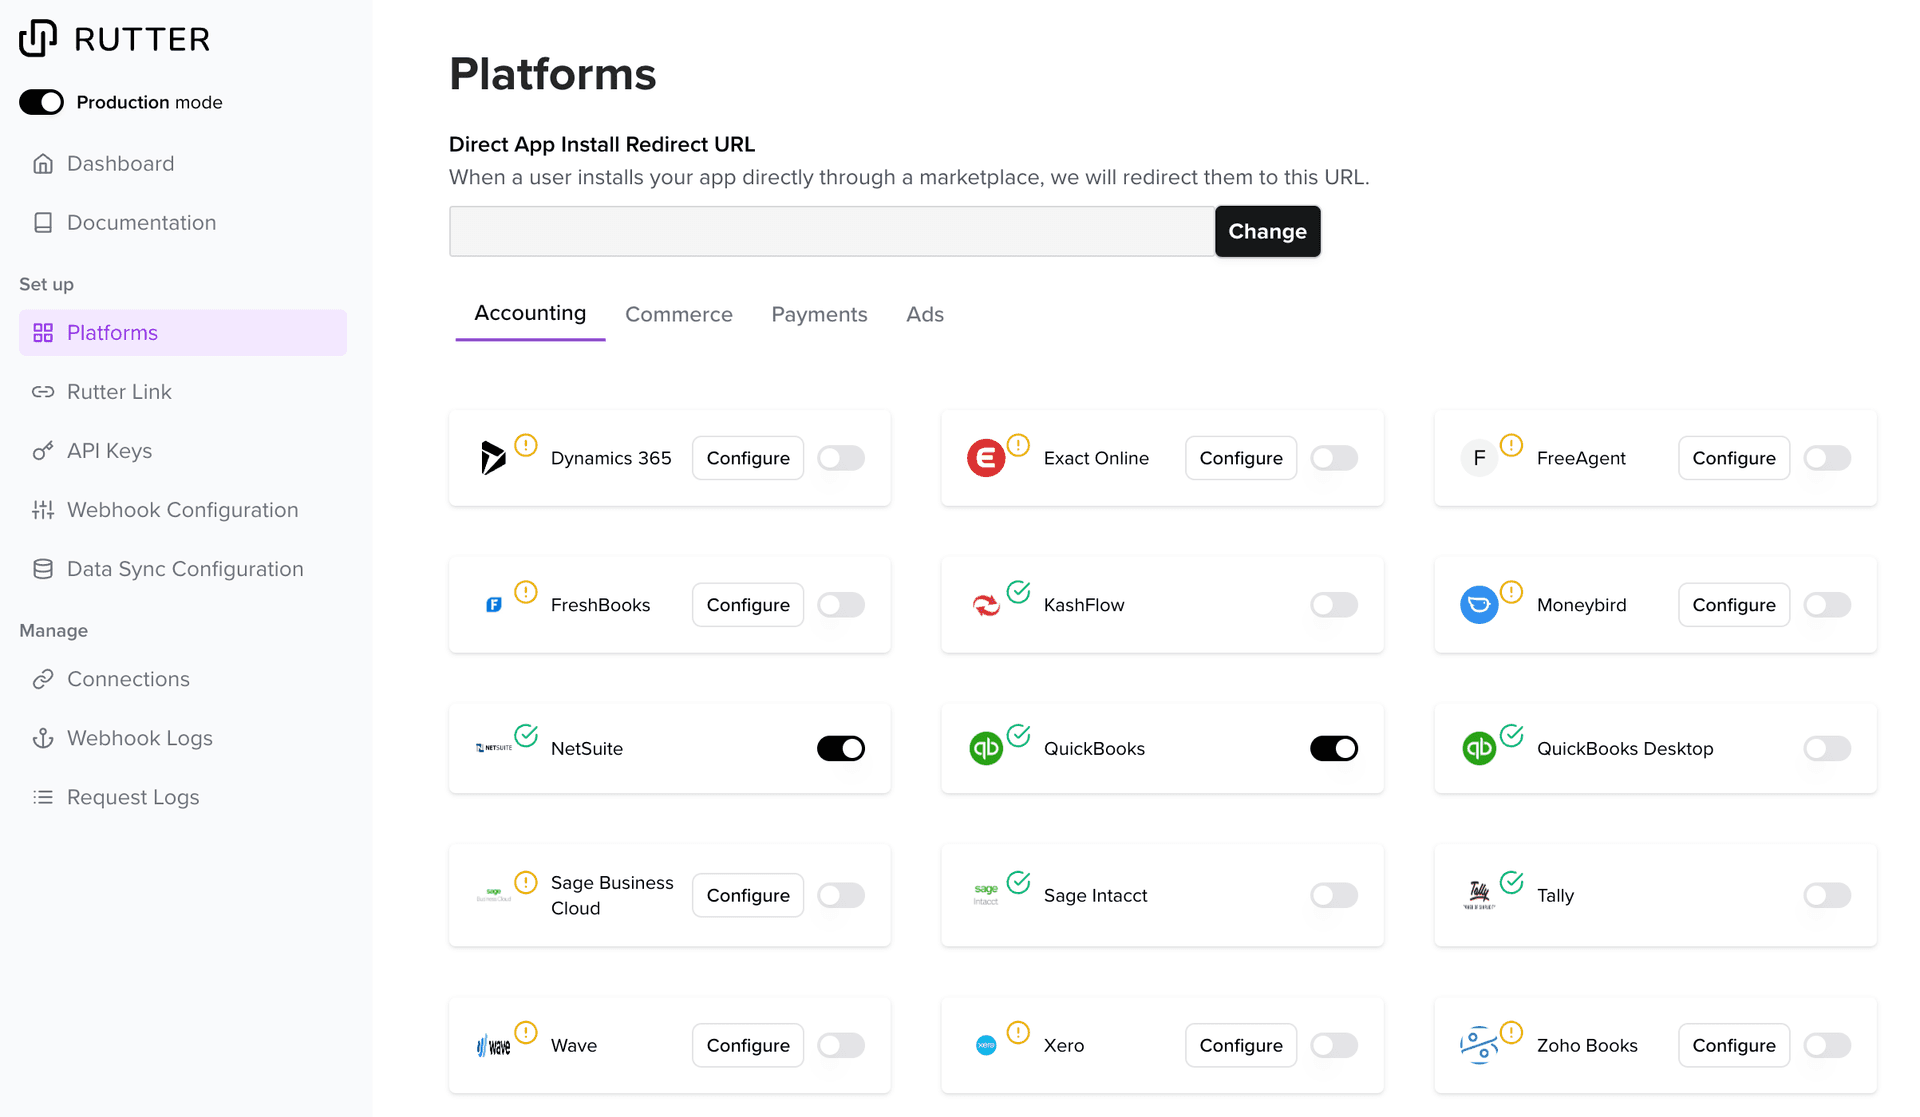
Step 1: Choose your Platforms
Rutter's platform selection feature allows you to choose the platforms you want to enable for your Rutter Link flow. These are the platforms that will be shown to your users when they connect an account.
- Navigate to the Platforms Page: Sign into Rutter Dashboard & navigate to the Platforms page.
- Select Your Platforms: On the Platforms page, you'll find a list of available platforms. Toggle to select the platforms you want users to be able to select in your Rutter Link flow.
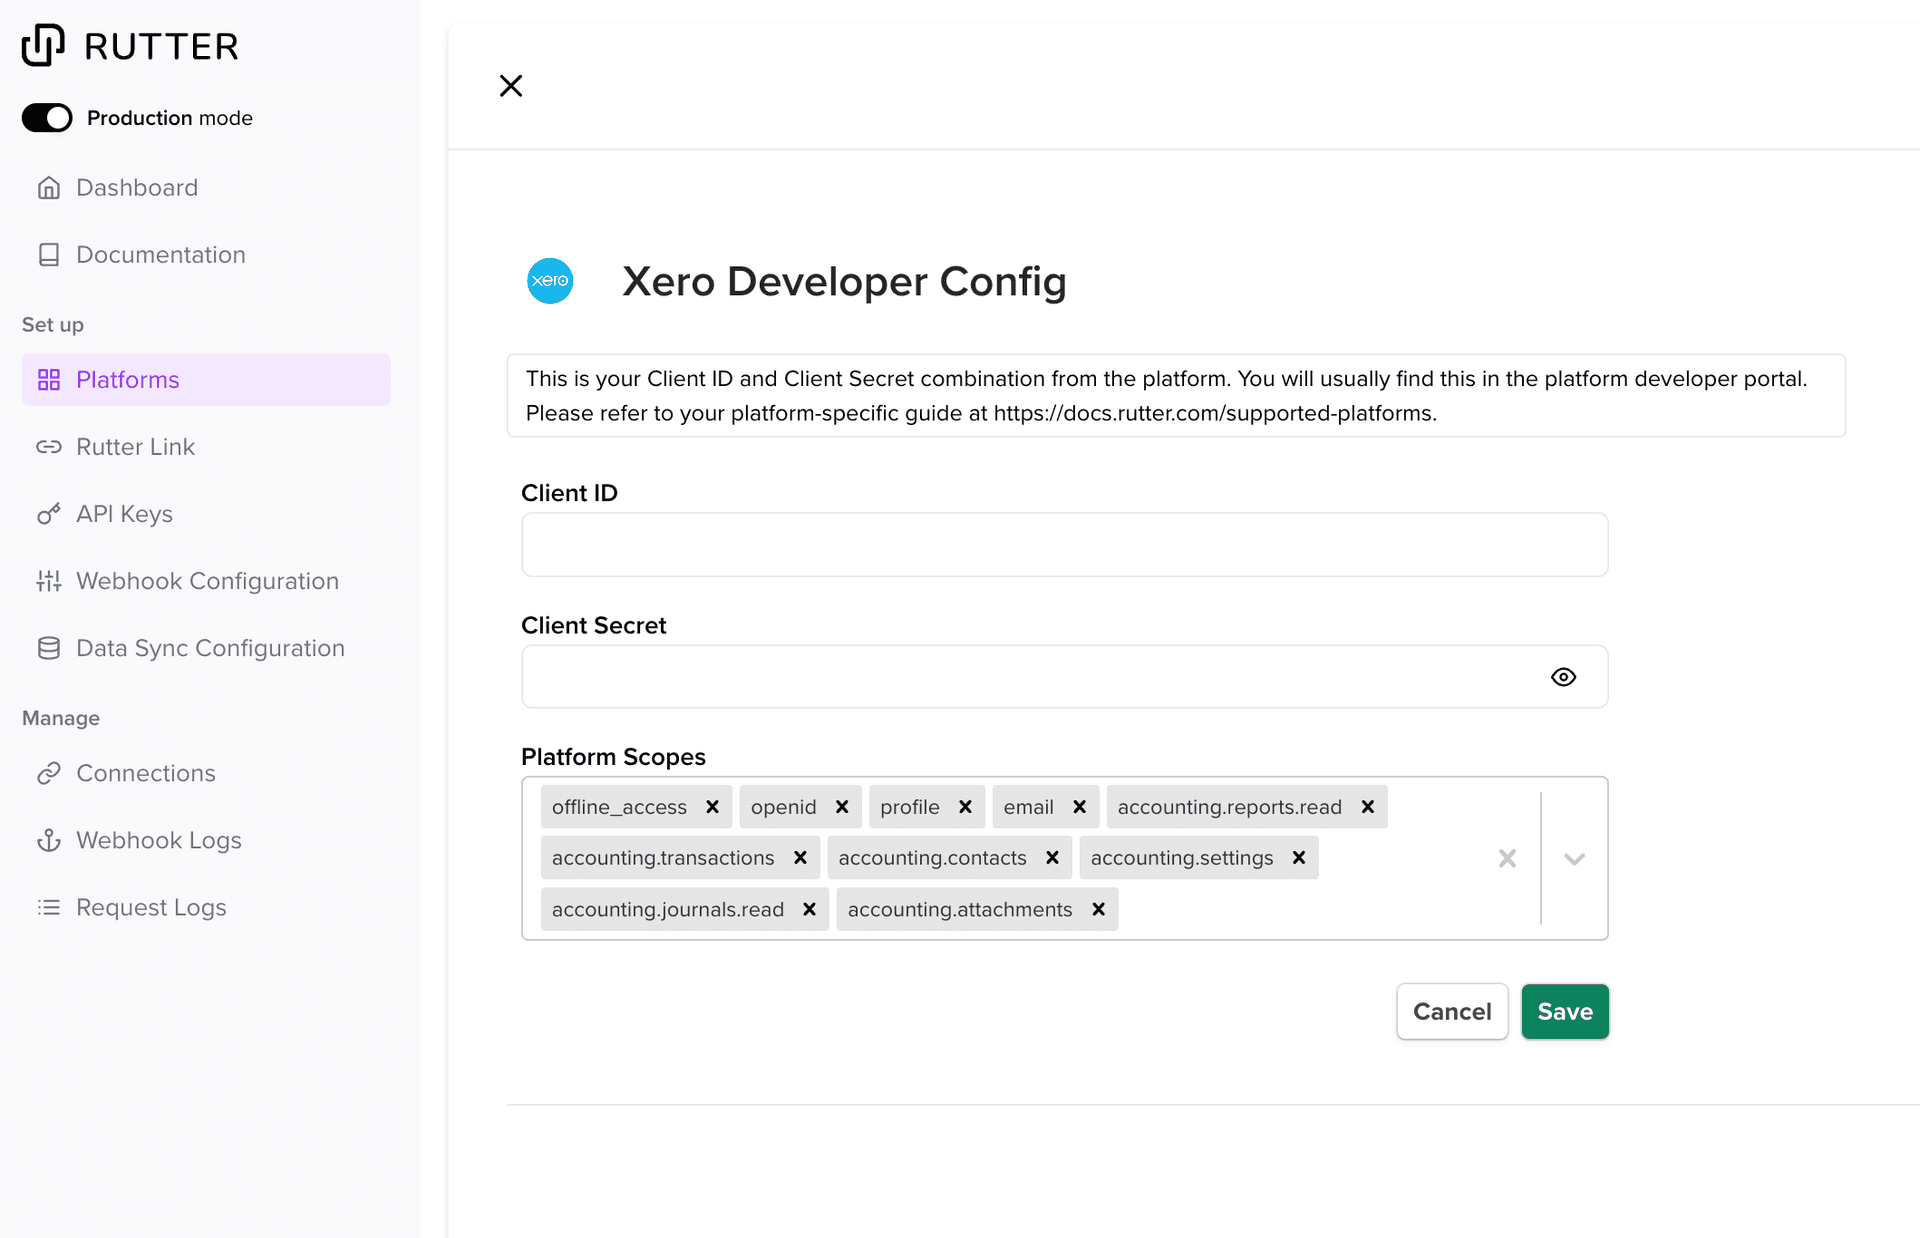
Step 2: Set up Platform Credentials
Depending on the platforms you've selected, you may need to set up developer apps in your target platform and acquire developer credentials.
- Refer to the developer app requirements for each integration: Check if you need to set up developer apps for your target platforms. If yes, proceed to step 2 and 3. If no, skip to the next section (Set up Rutter Link).
- Acquire Developer Credentials: If a developer app is required, acquire developer credentials for the platforms you plan to integrate with using our platform guides. This step may involve setting up a new account on the target platform (e.g., QuickBooks Online, Xero).
- Set Up Platform Credentials: Once you have the necessary credentials, navigate to the Platforms page. Click on the "Configure" button for the platform you want to integrate and enter your credentials (eg.
client ID,client secret). Some platforms may not require any configuration.
Example Xero Developer Config in the Platforms Page
Step 3: Set up Rutter Link
Rutter offers customization options for Rutter Link, which can be configured in the Rutter dashboard.
Option 1: Create a Rutter Link URL via Dashboard
For testing, we recommend using our built-in Rutter Link URL generation. This will allow you to quickly go through the authentication flow and connect a platform.
- Navigate to the connections page.
- Click “Create a Connection”
- Copy “Shareable URL” and open it in a new tab or window. This will open a Rutter Link Flow.
This can also be done programmatically via the Create a Connection Endpoint.
Option 2: Integrate Rutter Link component in your frontend
To integrate Rutter Link into your application's frontend, refer to our Rutter Link guide. This guide will walk you through the process of embedding the client-side component using React or JavaScript.
Step 4: Authenticate via Rutter Link
When your users initiate the Rutter Link authentication process, they will be guided to securely connect their platforms. Here's what your users can expect during the authentication process:
- Your users will begin by selecting the platform they wish to connect from the available options presented in the Rutter Link interface.
- Depending on the selected platform, your users will be prompted to follow a series of steps to install or authorize the necessary platform apps. This may involve redirecting to the platform's website, entering login credentials, or granting specific permissions.
- Once your users have successfully completed the authentication process and granted the necessary permissions, they will be presented with the "Authentication Complete" page.
If you require a test instance for any platforms, reach out to your customer success manager and they can help you with the setup.
Example QuickBooks Rutter Link flow
After creating a connection, you can find all your established connections on the Connections page of the Rutter dashboard. This page provides an overview of your active connections, allowing you to manage and monitor them effectively.
With your connections in place, you can start making API calls to fetch data from the connected platforms.